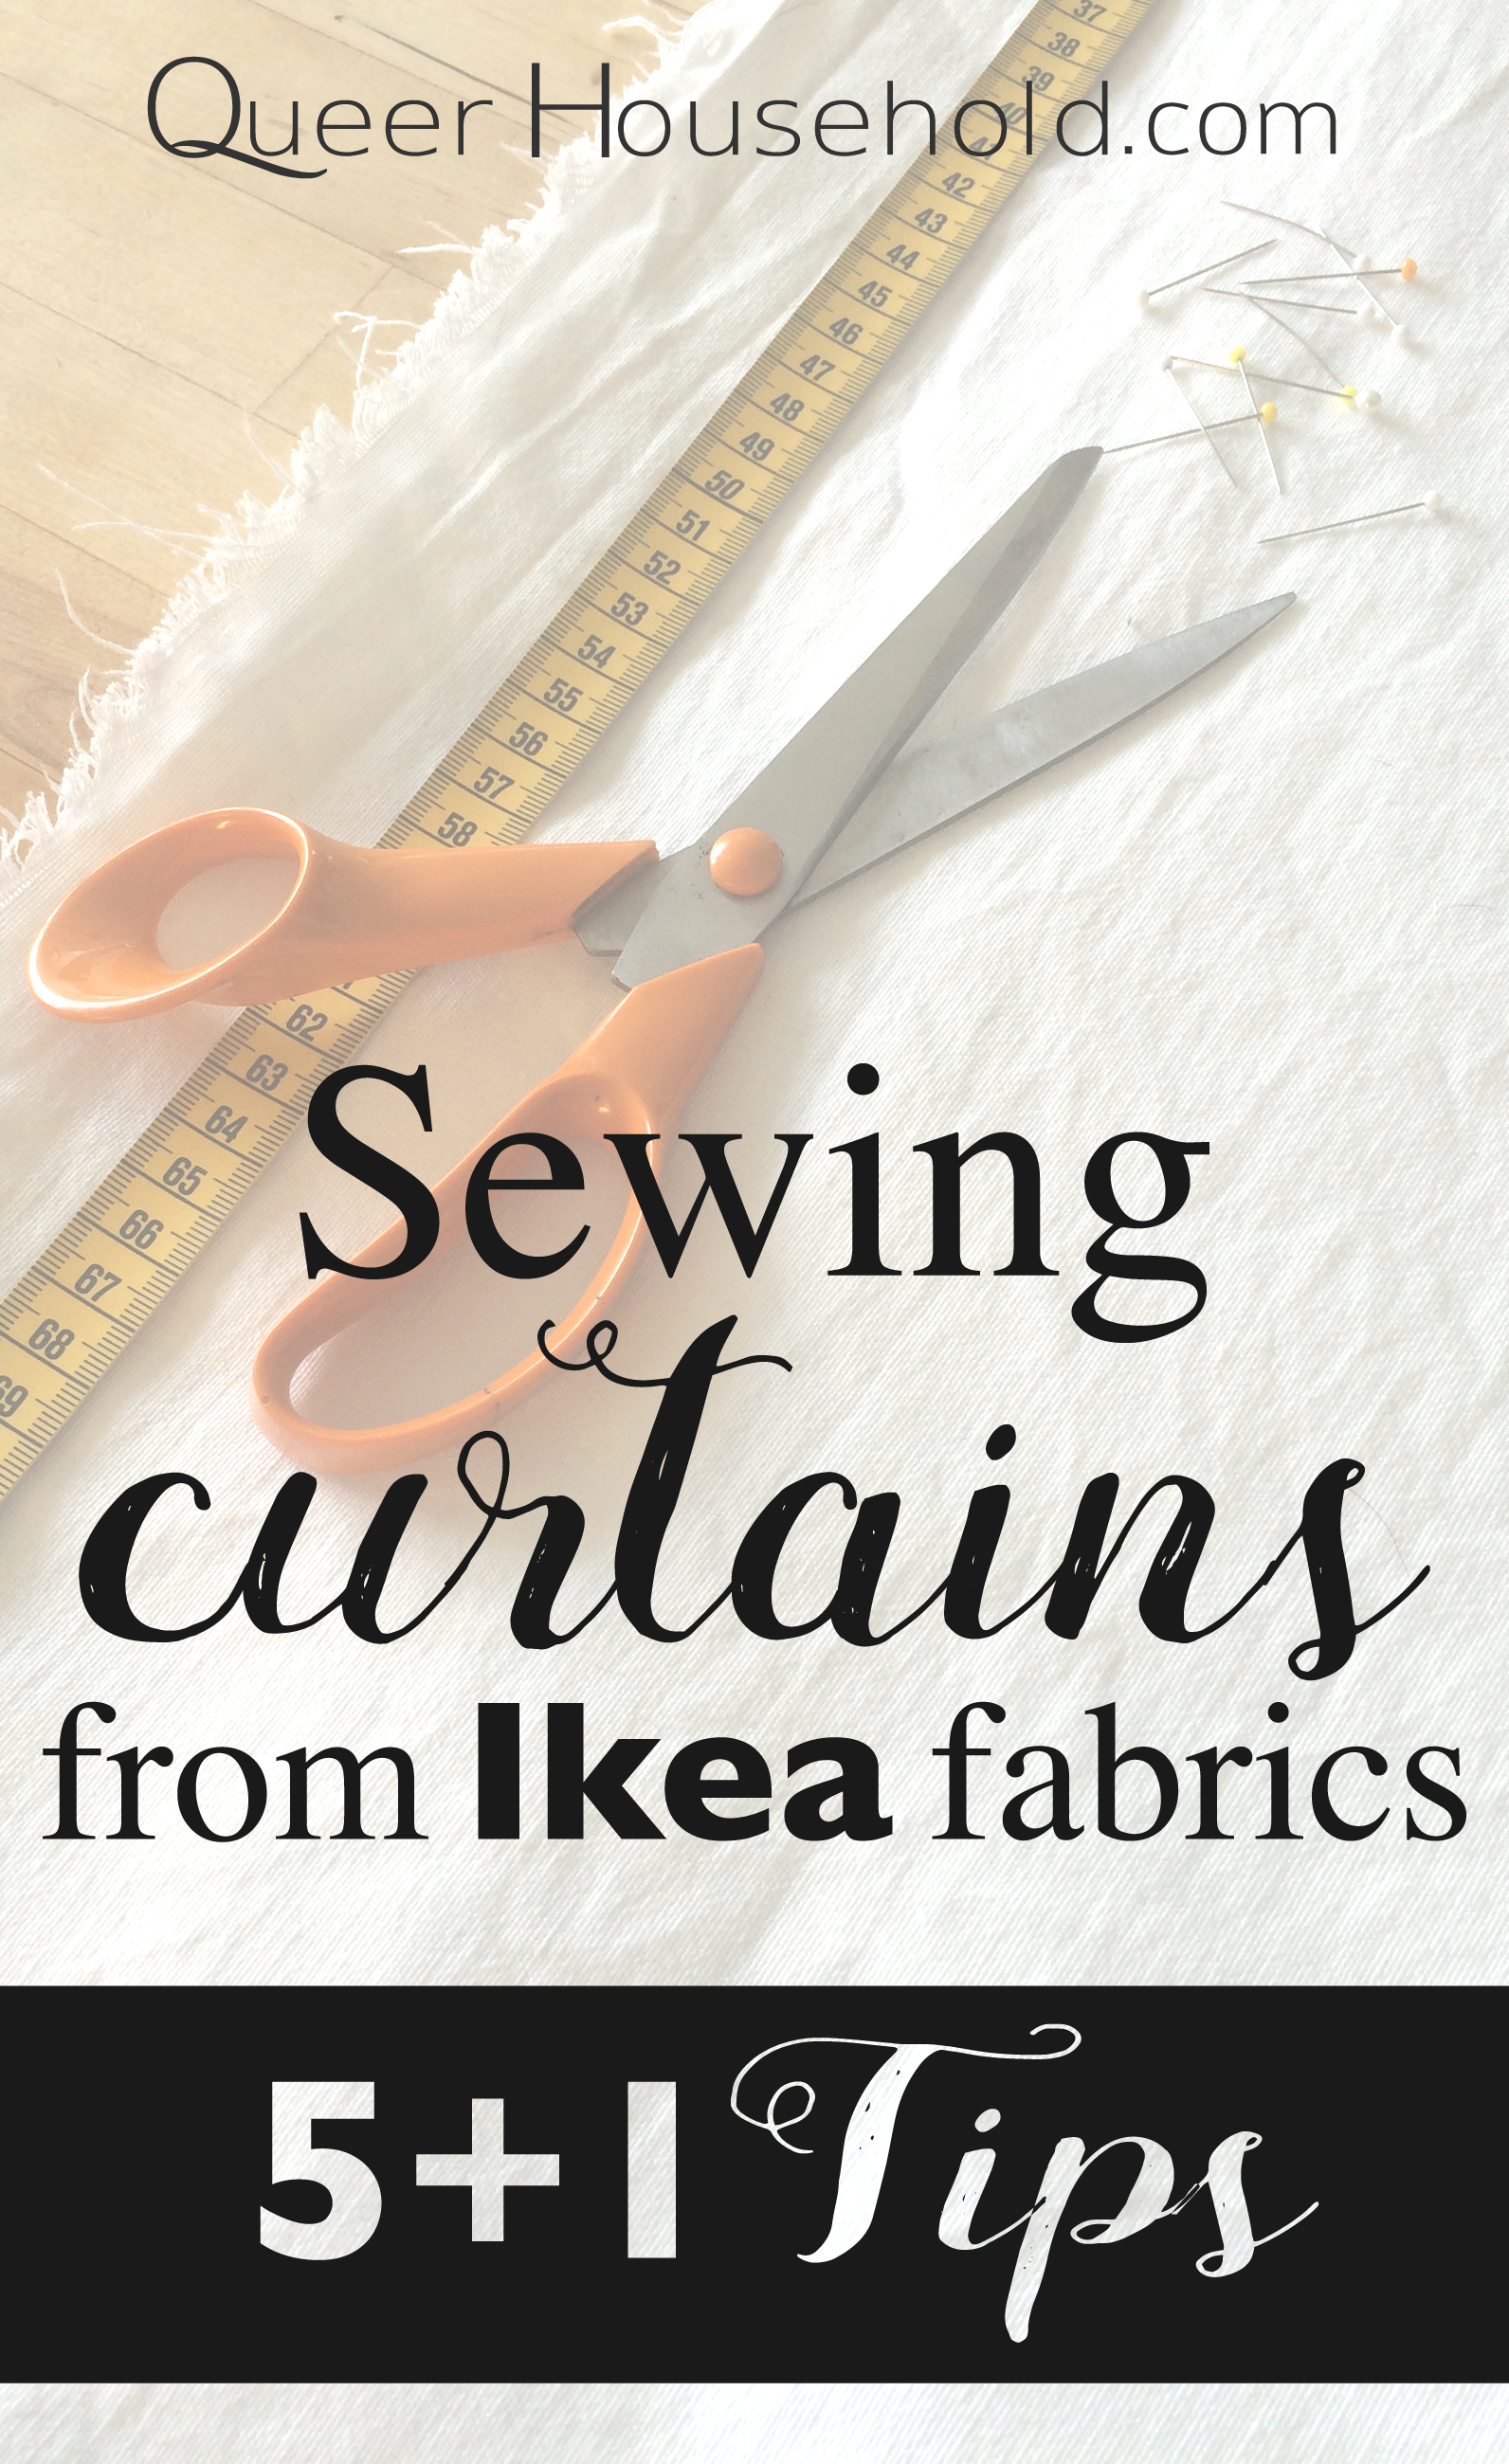
You probably agree with me if I say that curtains are an essential part of every room’s decoration. They frame the windows, set the tone for the room and make your decoration come together. Full and carefully designed curtains make your room look finished.
Decorating rooms can be really expensive but curtains are actually great place to cut the costs. Curtains are not ‘used’ the same way as bed linens or upholstery so the fabric doesn’t need to be so on point. Sew the curtains by yourself to save money and get the matched custom drapes for every room. Ikea offers great deals in their fabric department and with simple cotton you can dress windows with a fraction of a cost compared to many other fabric dealers.
We are quite seasoned Ikea shoppers and all of our curtains are DIY so we present our best tips to make sure your curtain project with Ikea fabrics goes as smoothly as possible. These tips apply also to other bargain fabrics.
Firstly you need to know the measurement for your curtains. Country Door has made an infographic about measuring your windows for curtains, if you’re in need of help in it.
1. Count in the hemming
Extra fabric in the hem works as a weight to ensure your curtains hang beautifully and it looks stylish and designed. Longer the curtain bigger the hemming, you can decide on your own what looks good for your eyes. Traditionally curtain’s hem is double folded. Remember also your curtain’s upper hem, it needs some extra for hemming too. Wikihow has good tutorial for hemming, check it out.
2. Count in the fabric’s shrinkage percents
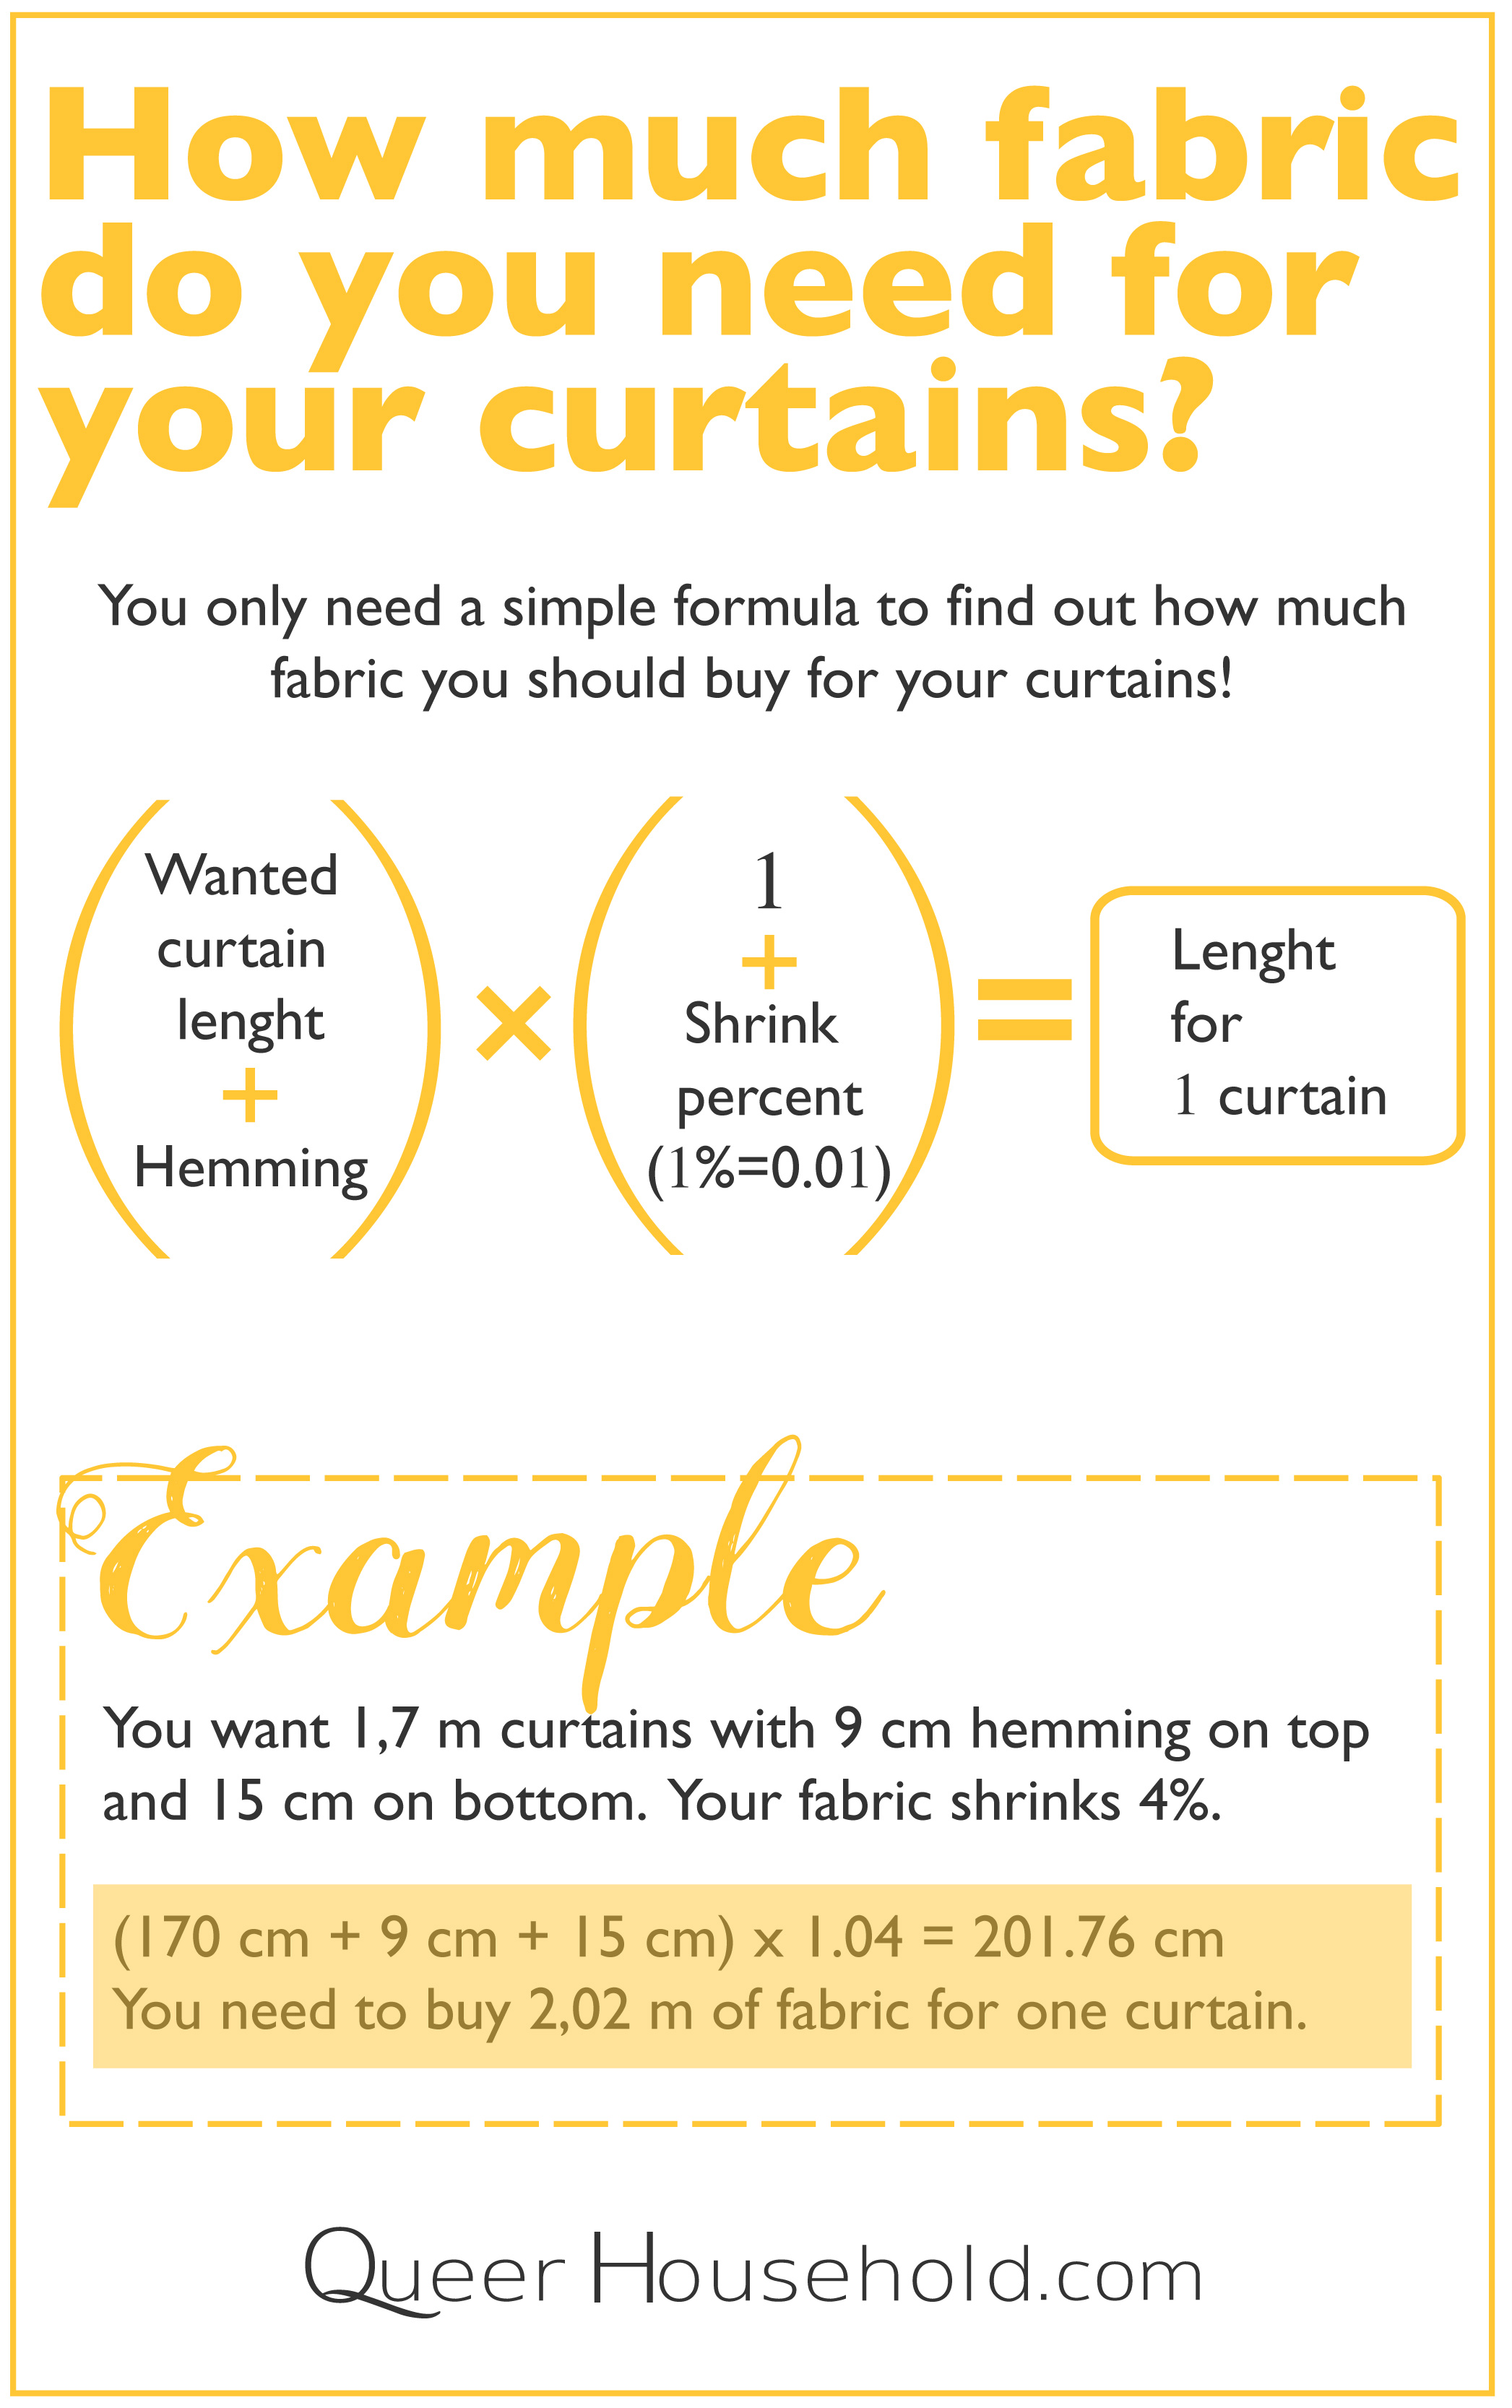
Almost all of the fabrics shrink during the first wash. Cotton can shrink 4-5% which means your 100cm curtains will be 95 cm curtains after washing. In floor length curtains it can be 10 cm off of the length, so remember to count in the shrinkage. With Ikea fabrics the information about the shrinkage can be found in labels or in the homepage under each fabric. If you’re unsure it’s always better to take bit too much as surplus can be easily fixed into the hems or cut away.
Curtain length you want plus hemming needed x one plus fabric’s shrink percent.
For example your one curtain’s measurement is 170cm, you have decided 9 cm hemming on top and 15 cm on bottom. Your fabric’s shrink percent is 4%.
(170 cm + 9c m + 15 cm) x 1.04 = 202 cm is the length you buy for one curtain.
If your fabric’s shrinkage was whooping 10% you would multiply the length with 1.10. Always multiply last, as the hemming length shrinks too.
3. Cut the fabric to the right length in the store
It’s good idea to use the big cutting tables at the store to measure and cut each curtain instead to just measuring one big length of fabric. This way you don’t have to crawl over your own floors trying to cut your curtains and keep pets/children/dirt away. As always with fabric, measure twice, cut once.
4. Wash the fabric before sewing your curtains
Before you get your sewing machines and ironing boards on hand, wash your fabric to shrink it. With some fabrics the shrinkage is several centimeters and washing the fabric before sewing makes sure you don’t get nasty surprises after next spring cleaning. Wash the fabric in as hot water as it can be washed or you believe it’ll be washed in the future. Some fabrics can feel different after the wash as the treatments used to help the manufacturing (stiffening agents, starch etc.) wash away.
5. Try not to stretch the fabric during ironing
Ikea fabrics are bargains and with that comes few not so savory traits. Often the cheaper fabrics are weaved more loosely which means they are more prone to stretch during the handling.
You have washed your fabric and next step is to iron away the wrinkles and turn the hemlines and sides. Be careful not to stretch the sides of your fabric as you work your hot iron. Don’t pull fabric as you go and try to keep it from dragging heavily down from the ironing board.
If there’s a mishap and you notice waving in the sides or the corners being longer, you can wash your fabric again or gently stretch the middle part with hot iron and steam to match the sides. If the curtains still seem wonky after you have already hanged them to your windows, try to spritz them with water and leave them to dry and let gravity do it’s job.
6. Sew first the sides and the bottom
If you hang your curtains with simple clips, sew the sides and bottoms first so you can test hang your curtains and check if the length is right and see if there’s problems with stretching. Depending your hanging method, you can also sew the rod pocket first and just pin the bottom hem to check the length.
If the fabric seems stretchy you can leave your curtains hanging for several days or few weeks so you see the final length as the curtains may stretch with the fabric’s own weight. When everything is good, sew the upper part and you’re ready to enjoy your new curtains.
Please, share your own great tips for curtain making! Sometimes it feels like even the most simple sewing projects can surprise.
Cheers,
Iida